What I’ve Been Lettering

Lately I’ve been seizing any possible opportunity to practice my lettering. Here’s what has come out of that:

IMG_20180214_172833_204This little piece came from participating in Lauren Hom’s weekly #HOMwork challenge, which you can sign up for here.


The next two letterings were also part of #HOMwork. I lettered them with my Wacom tablet instead of on paper which was a challenge for me, but something I’d like to get better at.

Lies(This is usually not true, just FYI).


Trophy3(This is always true for me.)


Another opportunity that I’ve been blessed with is getting to design wedding invitations for my friend. I lettered the names of the bride and groom using watercolors.

AubreeInvitation.indd

I also got to address the envelopes (SO FUN!).

IMG_20180309_170419920_HDR

I’ll be posting pictures of the full invitation and other pieces from the wedding soon!


And finally, I use lettering to express gratitude for things that I love.

IMG_20180313_175949_469

IMG_20180116_121229_439

Thanks for reading!

DIY Custom T-Shirts

I made some custom designed t-shirts for my family to wear on our vacation. They turned out better than I expected, so I wanted to share my process with you!

customTshirts

Supplies:

  1. Stencil paper. I used “Martha Stewart Crafts Adhesive Stencil Film.”
  2. Cutting mat.
  3. X-acto knife.
  4. Sharpie.
  5. Foam brush.
  6. At least 1 color of soft-dry fabric paint.
  7. Some soft t-shirts.

Step 1.
Practice drawing your design on regular paper. You will have to draw it nicely on the stencil paper, so make sure you know how you want it to look. Keep in mind that you are making a stencil, so all of the pieces of the design have to be touching so that the stencil stays together (that is why I wrote my letters in cursive).

Step 2.
Use a sharpie to draw your design on the stencil paper.

20170704_194144

Step 3.

Tape the stencil paper to the cutting mat and use an X-acto knife to cut out your design.

Step 4.

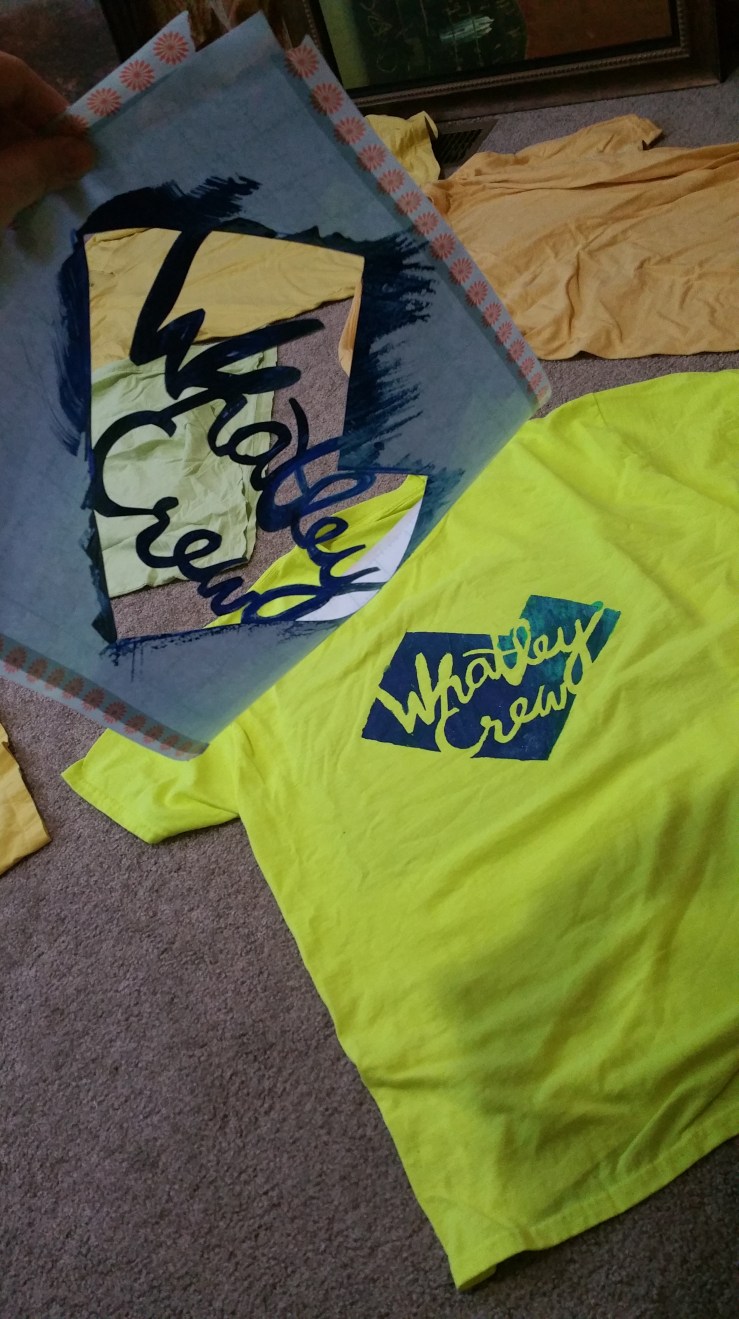
Remove your beautiful stencil from the cutting mat and tape it face-up onto a t-shirt. (Note: if you buy adhesive stencil film, you could just remove the backing and stick it to a t-shirt. Since my design was so complex, I just taped my stencil around the edges to each t-shirt, one by one. I never removed the backing. It’s easier to do multiple shirts this way.)

Step 5.

Use the fabric paint and foam brush to paint your t-shirt. The trick is to DAB the paint-filled brush onto the t-shirt. Try not to use side-to-side/up-and-down strokes. DAB IT. You can use two different colors to create an ombre effect.

20170704_200933

Step 6.

Carefully peel off the stencil immediately after painting it (don’t wait for it to dry). Don’t worry if there are little splatters or inconsistencies; that’s what makes each shirt unique!

Step 7.

Tape the same stencil down on another t-shirt and repeat the painting process. I did 8 t-shirts with one stencil.

Step 8.

Let the t-shirts dry overnight.

20170704_202729

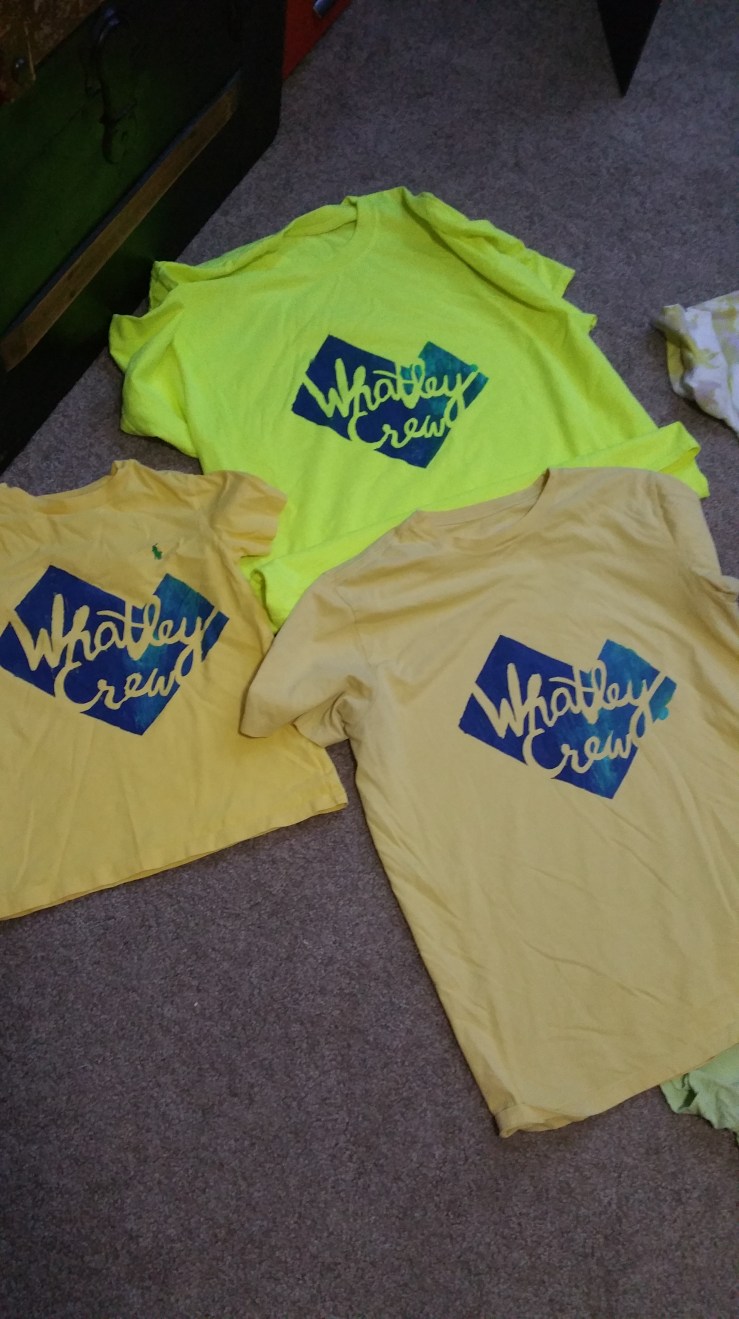
Now you can vacation in style with your awesome (and cost-effective) attire. I will also mention that I bought the t-shirts used from Goodwill. Even more savings that way!
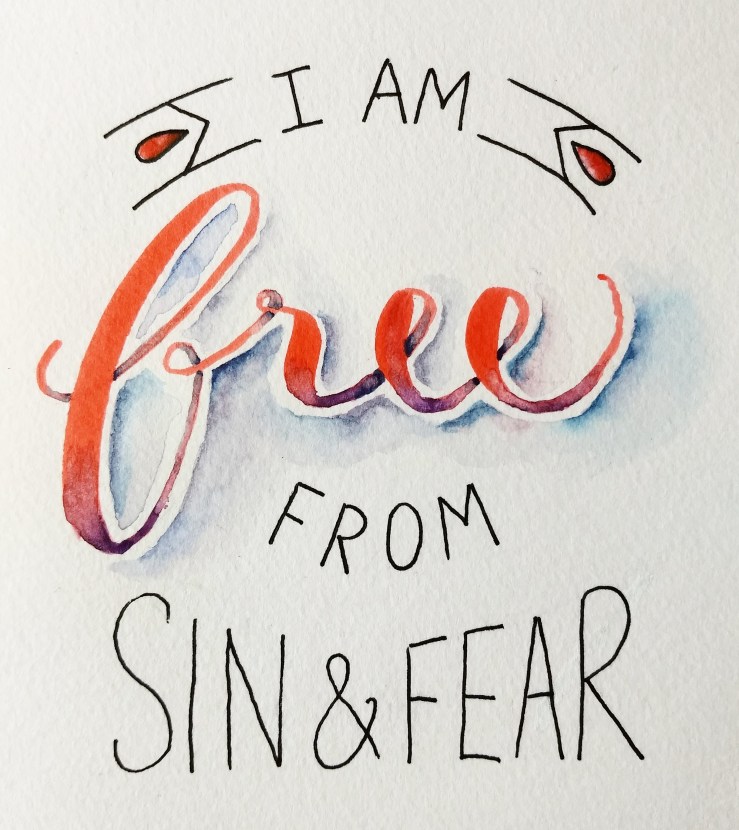
A Season of Painting

The seasons of life sometimes seem to pass so slowly when you’re in them. But when you turn around and see how far you’ve already come, you realize just how fast time flies. I can’t believe my little boy is 15 months old. He’s been with us for over a year, yet I remember bringing him home from the hospital like it was yesterday. I’ve heard parents say that my whole life and now that I’m in the season of parenting, I understand.

Along with being in the parenting season of life, I’ve been blessed the past couple of months to find myself in a season of painting. However short this season may be, I am grateful for it because painting is one of my greatest passions. I truly believe that it is good for my soul. I have found time to do personal painting work as well as freelance painting work. I love the process of painting. From the anticipation of prep work to the fulfillment of cleaning up, each step is special.

Here are some examples of the painting I’ve been able to do. I did a personal piece that is a combination of acrylics and watercolors, a flowery watercolor piece that is being used for a ministry event, and a fun logo for which I combined paint and ink to get the look I wanted.

IMG_20170429_132741_016plant_painting_wallIMG_20170501_224851_860SummerGatheringPostcardRUNfinal_logo-01

Hand-Bound Portfolio Books

As I have been having job interviews, I have been putting together portfolio books to leave with employers. The books are about 30 pages long and contain my best work. I used Japanese stab-stitch binding to make them. I also created a little pocket on the inside cover which contains my resume and business card. Then I made a small sleeve to go around the book. I think it is all-together a neat little package. 🙂

book1 book1b book2 book3 book4

A Children’s Book About Design! I’ll Send You a PDF

This is a book that I have been working on for the past 10 weeks. My goal was to create a book for kids that would explain basic design concepts. It is titled, “Learn About Design.” I chose to do this project because in the big world of children’s books, there are few (if any) on the subject of good design. But I think teaching kids about design at an early age would be very beneficial so that they can understand what makes something beautiful. Many people recognize beauty in the world but they can’t identify what makes it so visually pleasing.

This book is just a start to teaching children about design. It is made up mostly of visual examples and illustrations. If you have young children that you would like to read this book to (or if you just want to see the book yourself) I will email you a PDF version with all of the colorful pages. Please simply follow my blog and then send me an email requesting the PDF. My email address can be found on the ABOUT page.

I am interested to find out how children will respond to the book. I don’t have any children myself, which is why I would like to send it to those of you who do.

I used special paper for the front and back covers and cut out shapes revealing information on the colorful pages underneath. I bound the book using the Japanese binding method.